Presets for Lightroom are pre-defined settings that enhance and transform your photos with just one click. This guide shows you how to import these presets into Adobe Photoshop Lightroom for Mobile and adjust them as needed.
Users of iOS Devices: Currently, Lightroom for Mobile on iOS devices cannot import presets that use profiles. To import these presets, sync them from your computer to your mobile device.
-
Download Presets
Download the presets to your device.
-
Open the Adobe Photoshop Lightroom for Mobile App
Launch the Adobe Photoshop Lightroom for Mobile app. Open an image you want to edit.
-
Import Presets
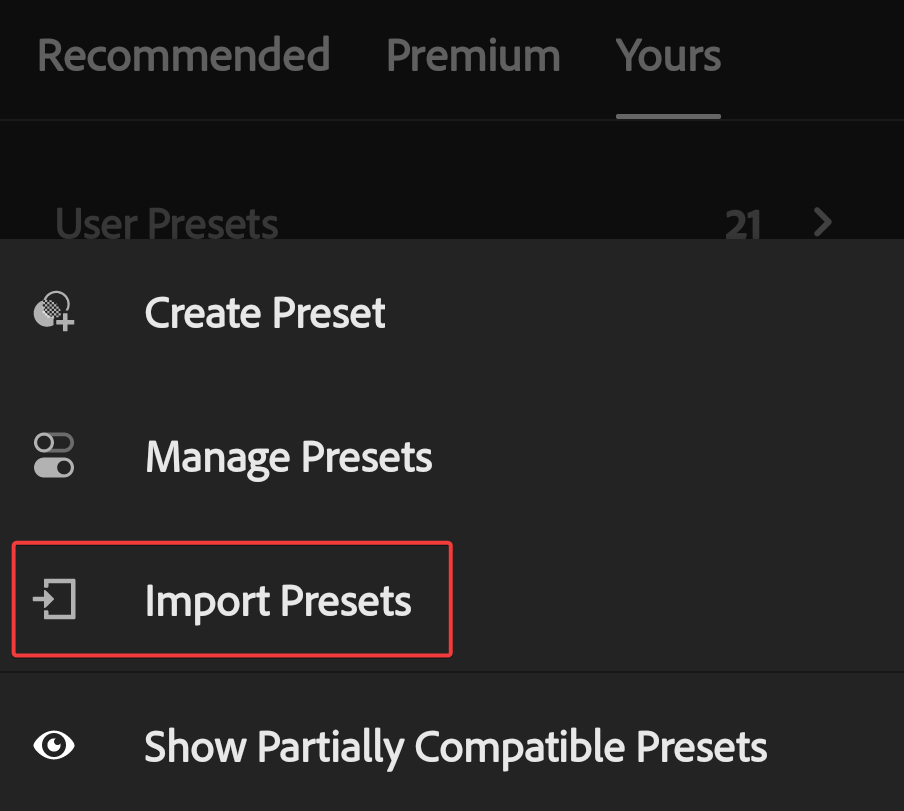
Tap on the “Presets” option, then tap the three-dot menu at the top-right corner.


Select “Import Presets” and import the .xmp files or a .zip archive containing them.

-
Apply Presets
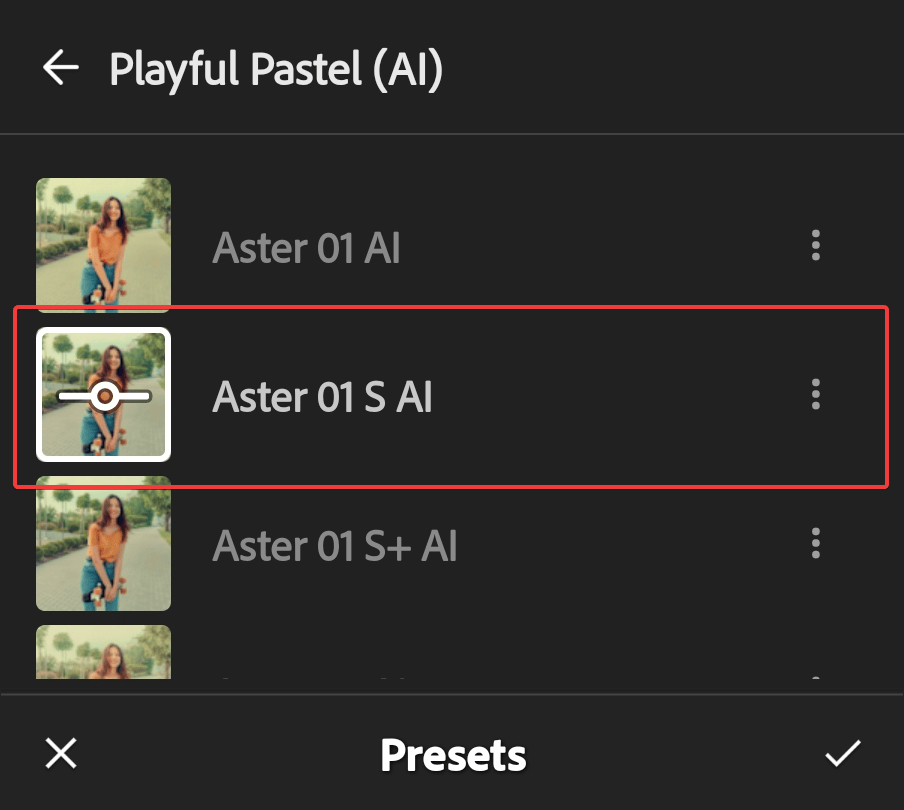
Go to the “Presets” section and tap on the preset you want to apply to your image.

-
Adjust Preset Intensity
Tap on the “Slider” icon in front of the thumbnail.

Drag the slider to make the preset more subtle or stronger.


