Import LUTs in DaVinci Resolve to enhance your video projects with custom color grading. Follow these steps to integrate and apply LUTs efficiently.
- Open Project Settings
Go to File > Project Settings.

- Open LUT Folder
Navigate to the Color Management section. Click Open LUT Folder.

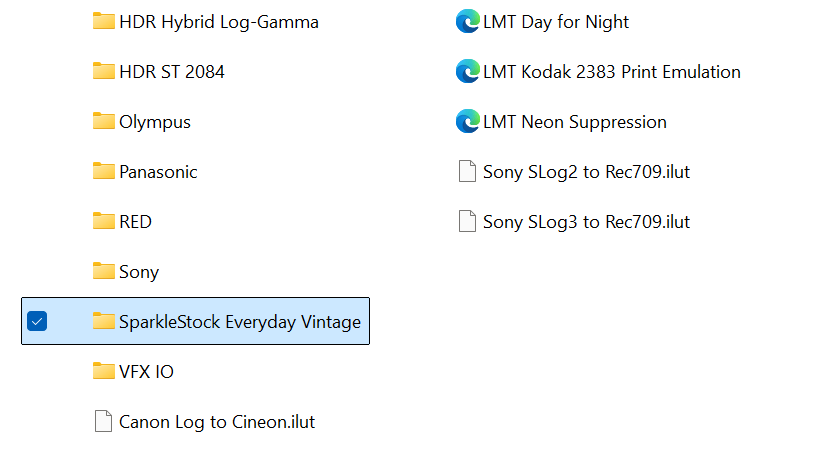
- Create a Folder
Create a folder with the product name.

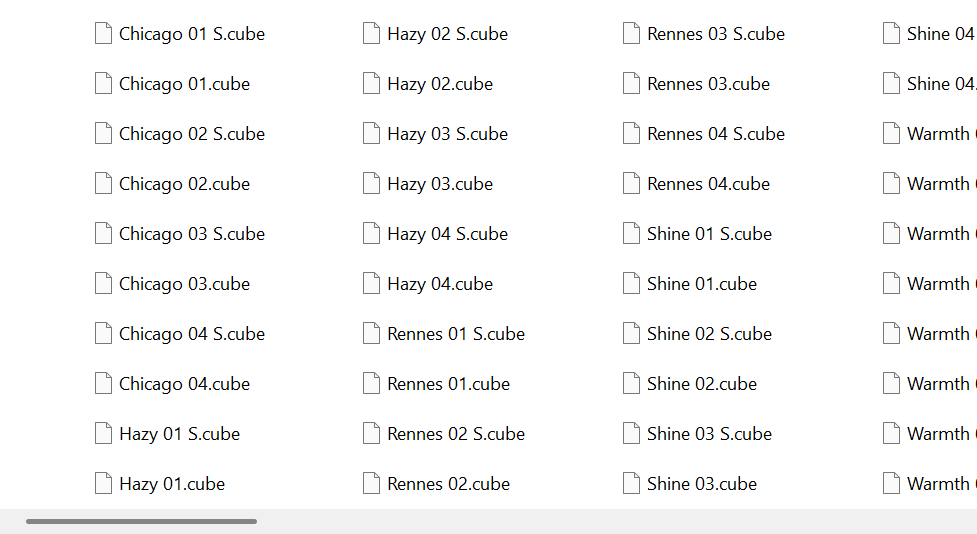
- Copy CUBE LUTs into Folder
Copy the CUBE LUTs into the newly created folder.

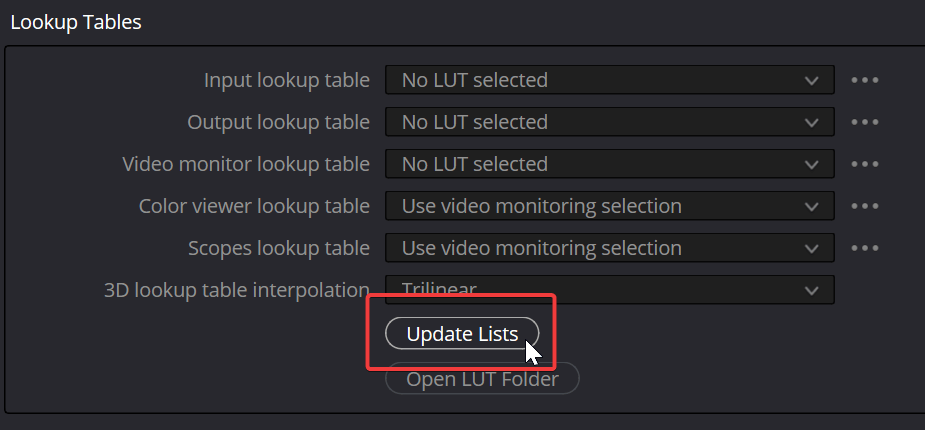
- Update LUT Lists
Return to DaVinci Resolve project settings. Click Update Lists.

- Add an Adjustment Clip
Ensure you are on the Edit page. Click the Effects panel. Select the Video tab.
Drag and drop the Adjustment Clip effect to your timeline, positioning it above your clips.

Resize the adjustment clip to cover the video clips in your timeline.
Switch to the Timeline page. Drag the right side of the adjustment clip to cover your clips.

- Apply a LUT
Go to the Color page. Select the adjustment clip. Click the LUTs panel. Click the folder you created to hold the LUTs. Select a LUT.