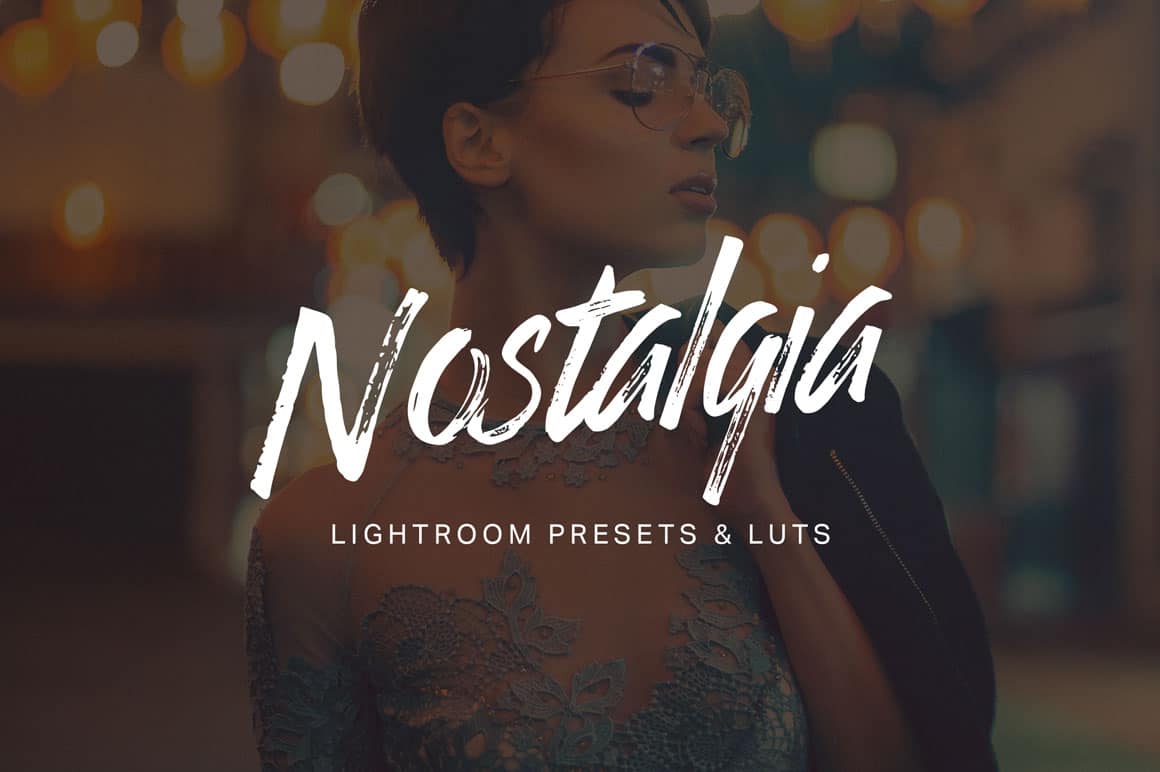
30 nostalgic presets and LUTs for Lightroom. These presets give your photos the memorable and sentimental feeling in just one click. Want something lighter/stronger? You can do that because the presets are fadeable.
What You’ll Get
- 30 Fadeable Lighroom Presets (30 looks x 5 strengths = total of 150 presets)
- 3 Fadeable Grain Lightroom Presets (3 looks x 5 strengths = total of 15 presets)
- 30 Fast-Render LUTs
- 30 High Quality LUTs
Nostalgia Lightroom Presets & LUTs
- Alvarado
- Arbor
- Argonaut
- Broadway
- Clement
- Corbett
- Ellis
- Federick
- Fulton
- Geary
- Humboldt
- Industrial
- Joost
- Lawton
- Loehr
- Masonic
- Mateo
- Melrose
- Noe
- Noriega
- Ortega
- Pacheco
- Pacific
- Polk
- Santiago
- Sunnydale
- Union
- Velasco
- Vienna
- Yorba
Grain Lightroom Presets
- Fine Grain
- Lo-Fi Grain
- Medium Grain
Features
✔ 30 Nostalgic Looks
Pick from 30 nostalgic Lightroom presets to use on your photos.
✔ Fadeable Lightroom Presets
Rarely do presets give you the exact look you want. That’s why these presets come in 5 strengths from light to strong! Now you can get the perfect look without modifying the settings.
✔ Fully Compatible with LR Toolkit
These presets can be modified and used in conjunction with LR Toolkit. LR Toolkit is the best workflow system for Lightroom and it makes it easy for you to customize the presets. You can adjust the fade, create HDR looks, boost colors, and a lot more. More information can be found at www.lrtoolkit.com
Instructions
How to Install Lightroom Presets
- In Lightroom, go to Edit Preferences (Lightroom Preferences on Macs).
- Go to the Presets tab then click the “Show Lightroom Presets Folder” button.
- Copy the “SparkleStock Nostalgia” folder into your Lightroom Develop Presets folder.
- Restart Lightroom. The presets will appear in the Presets panel located in the Develop module.
How to Use LUTs in Photoshop CC
- Go to Layer New Adjustment Layer Color Lookup.
- Click on the 3DLUT file dropdown menu then select “Load 3D LUT…”.
- Browse for the *.CUBE file then click Load.
Notes
- To use the LUTs in Photoshop CC, go to Layer New Adjustment Layer Color Lookup. In the “3DLUT file” dropdown, select “Load 3DLUT”. Browse for the *.CUBE file then click Load.
- LUTs can only emulate the color grading. They cannot reproduce the Shadow & Highlights settings used in the Lightroom presets.
- The Fast-Render LUTs are recommended for video projects. They process faster with minimal difference compared to the HQ LUTs.
Works With
- Lightroom CC 2015 – 2017
- Lightroom Classic CC (All Versions)
- All software that supports LUTs (including Photoshop CC, Affinity Photo, Adobe Premiere CC, Adobe After Effects CC, etc.)
- Mac and Windows


